
GreenLight simplifies and streamlines the process to create, check and export book covers to publisher and print supplier specifications.
The book cover can be the most important design aspect of a print publication.
Its design can help persuade the purchasing decision, and will typically incorporate complex elements including special finishes of foil, varnish, embossing etc.
It must also contain specific sales information such as barcodes, logos, publisher details and price.
GreenLight streamlines the process, from document setup and checking through to the export of separated print ready PDFs.
This step-by-step tutorial follows on from Getting started with GreenLight.
GreenLight Custom publishers can choose to grant access for GreenLight users to connect to their bibliographic database, e.g. Biblio, Firebrand etc.
By simply entering a book's ISBN the relevant information – e.g. Book title, imprint, price, binding style and trim page size – is instantly retrieved, making the process quicker and more accurate when creating covers.
This info is used to check and alert the user if the design or the data has become out of sync, e.g. if a price changes.
When connecting to Virtusales BiblioSuite API GreenLight accesses this via an Edition ID which is linked to the ISBN. This works by checking a list that can be set up and regularly updated for GreenLight Custom clients.
If an Edition ID is not available to GreenLight then an alert is shown with the option to go to BiblioSuite to retrieve the Edition ID, or to enter info manually, and continue
GreenLight Pro does not connect to bibiographic data so users are always asked to enter the publication specifications manually.
To start a new cover:
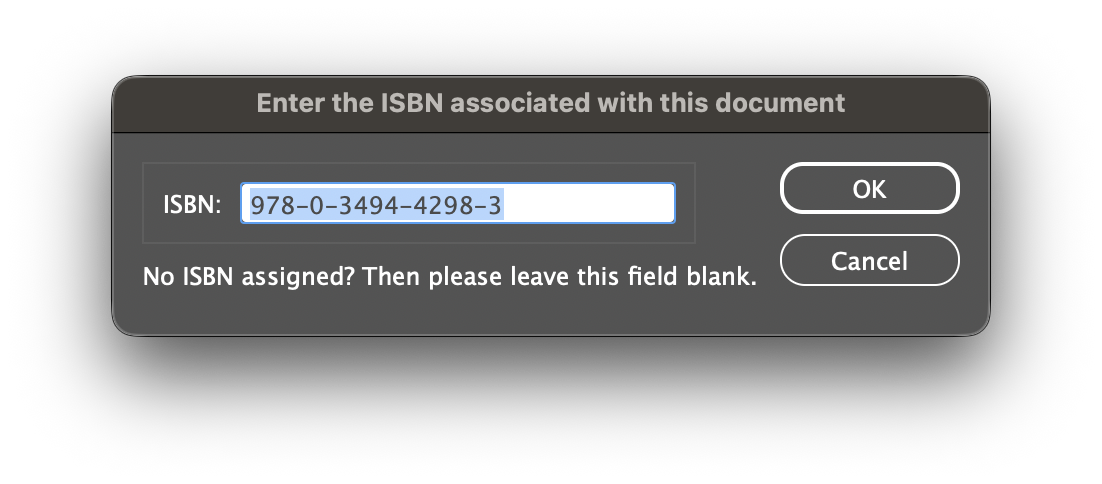
The entered ISBN is used to retrieve and compare the book's edition and impression level information
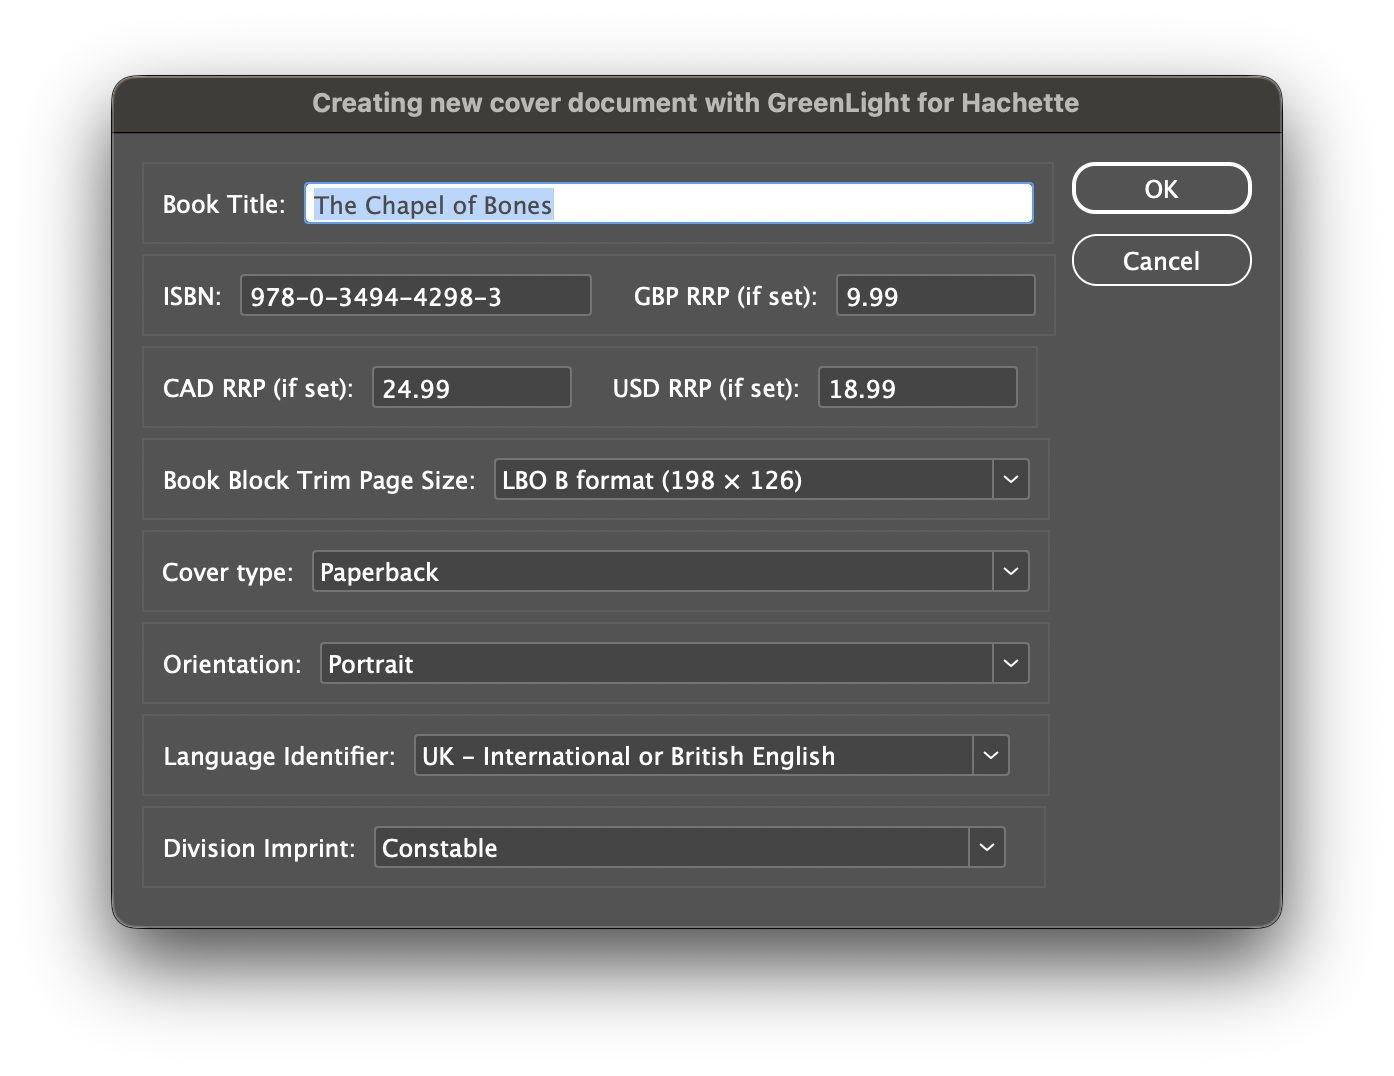
The full name of the publication.
Confirm or enter the ISBN to identify this edition. Dashes are preserved when added to artwork.
Enter the GBP RRP (Recommended Retail Price in Pounds Sterling) if known. This will be added automatically for GreenLight Custom users.
Only shown when applicable. Confirm the Canadian Dollar and US Dollar RRP retrieved from Biblio data.
The trim page size (TPS) of the main internal pages of the book.
A range of common book sizes is offered along with a choice to set a custom page size.
NB: There is no need to work out the cover document sizes here. GreenLight will calculate the correct cover size based on the choices of cover type and publisher and print supplier specifications.
The binding style of the book, e.g. PLC, Paperback, Hardback Jacket.
GreenLight will calculate the correct artwork setup and sizing based on this choice and the trim page size.
See the linked article below for a full list of cover types
Default is the more common Portrait orientation with spine on the long edge. Alter to Landscape if required.
Specify the language of the text. This information will be used for GreenLight checks and the naming of exports.
GreenLight Custom clients can confirm or specify an imprint to including additional artwork such as required logos and barcode boxes.
Following on from the previous step to complete a new cover:

If a standard Book Block Trim Page Size was not selected in the previous dialog, the trim page size must be entered here.
The measurement of the book spine in mm.
A check box to indicate that the spine width measurement is final and has been confirmed ready for print by production.
Depending on the cover type specified, values may be required for the front and back flap width in mm.
The value (in mm) for the extra artwork extending beyond the trimmed edge of the cover, for printing right to the edge after trimming.
The lamination type, as determined by the publisher or print supplier. This is a production instruction contained in the GreenLight Cover Info panel but will not change the InDesign document setup. For example:
A checkbox to indicate whether the chosen lamination is to be applied over the foil. Print suppliers typically recommend lamination is applied over foils to protect them.
For some clients only. A category of production specifications for the title as determined by the publisher, for example:
The chosen colour profile used when exporting based on the paper type, for example:
An option to create an additional spread for inside cover artwork. See step 5 below.
An option to add special finish layers and swatches. See step 6 below.
For a hard cased book, e.g. a PLC or Hardback jacket, the overhang is the additional height and width of board extending beyond the book block.
Typically added on all edges, the values for top, bottom, spine and outer overhangs can be adjusted independently.
Depending on the cover type specified, the flap turnaround specifies the thickness of the board and is added to the artwork flap width
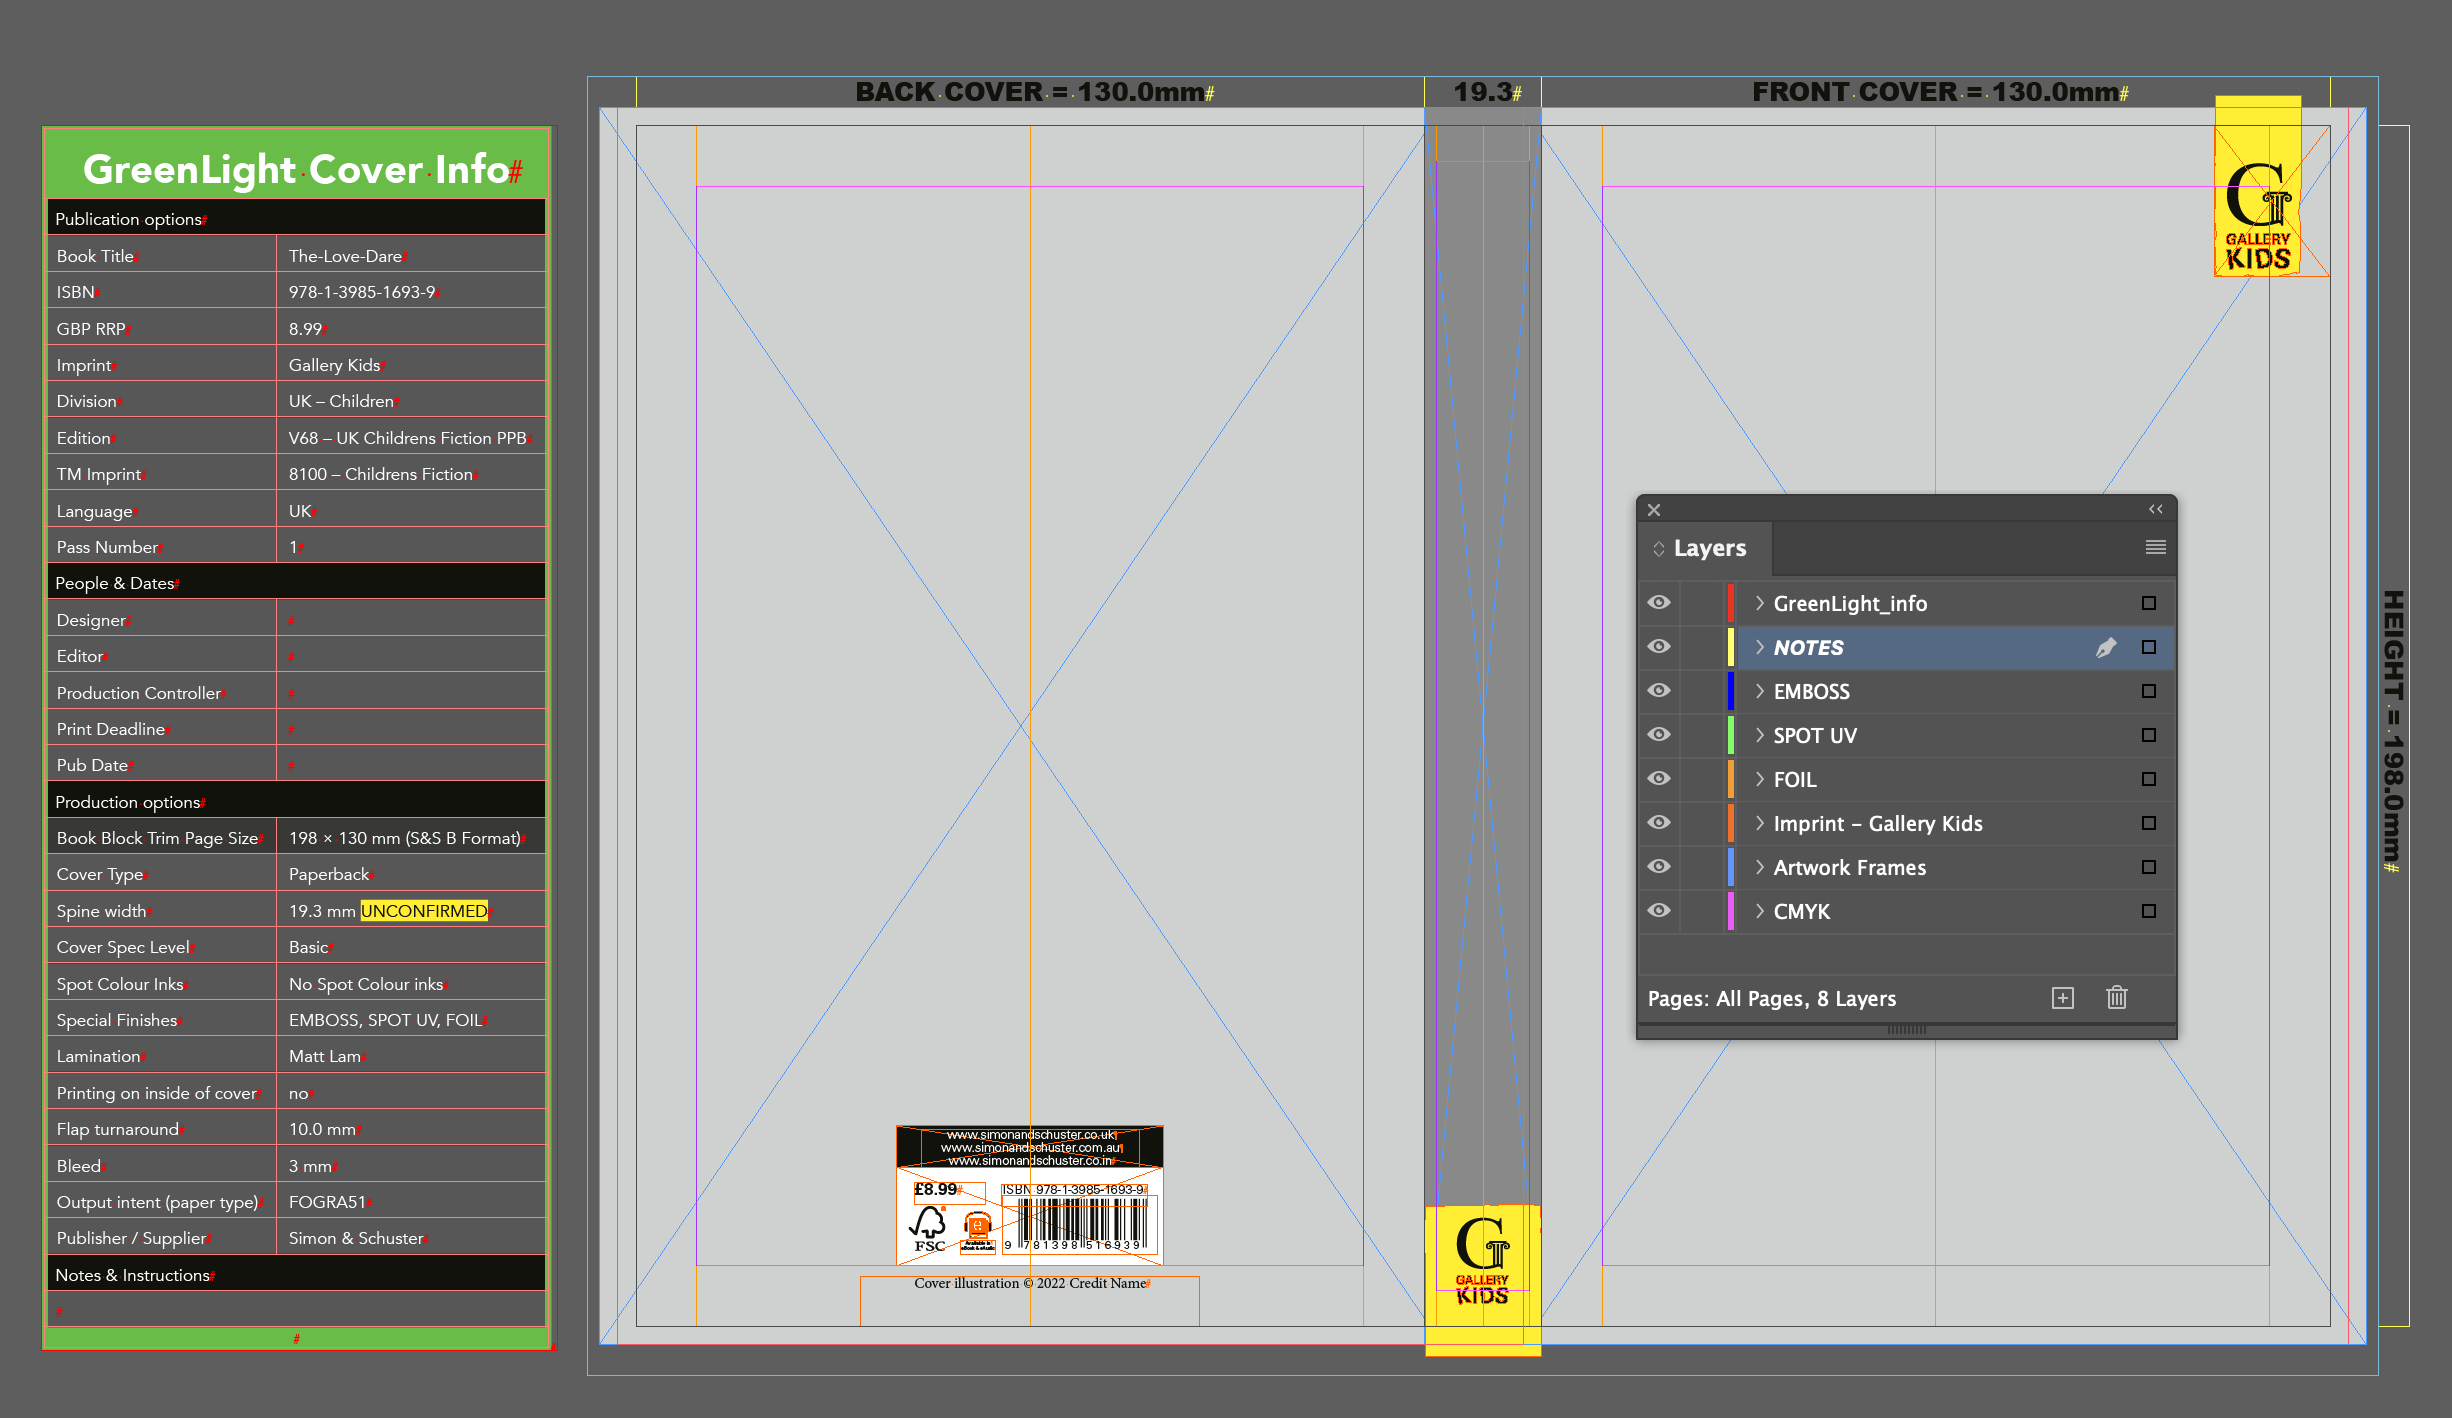
A new InDesign document is created using the entered specifications.
For the main cover artwork, a single spread is made up from a number of individual pages, e.g. back cover, spine, front cover.
Flaps are added to the spread as two additional pages, when required.
For GreenLight Custom users imprint logos and barcode boxes are correctly sized and positioned automatically.
A number of layers are created, e.g.:
It is important to use the layers created by GreenLight, but additional layers may be added should they be required as part of the design process.
If Printing on Inside of Cover is selected in step 3 an additional spread is created.
Because 'reverse printing' artwork is arranged in reverse order to the outer cover the pages are helpfully labelled above e.g. with INSIDE FRONT COVER to the left of the spine.
An extra Printed Inside Cover info panel is added on the pasteboard of the second spread containing its specifications.
It is also possible to add a printed inside cover spread when choosing to Amend the cover. See step 7.
Special Finishes are extra design embellishments often used on book covers including foils, embossing, diecutting and varnishes. They are represented in InDesign by the use of spot colour swatches on dedicated layers of the same name.
GreenLight can quickly set up, check and export special finishes to publisher and print supplier requirements.
If Add Special Finishes is selected in step 3 an additional dialog is shown where the finish(es) can be chosen.
Altenatively, special finishes can be introduced to a document later by choosing the GreenLight Create menu > Add Special Finishes:

The chosen finishes are added to the active document as named layers and swatches.
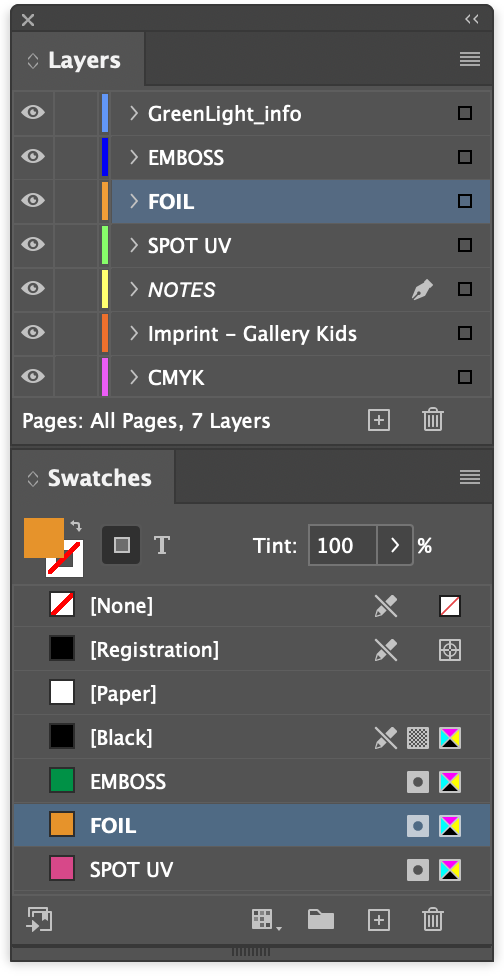
These layer and swatches are expected to be used for all special finishes and will be analysed when runninng GreenLight checks.
If a foil reference has been specified in step 3 above, this can be amended if required by:
The swatch, layer and GreenLight Cover info panel are updated accordingly.
Foils can enhance the visual appeal of the printed book cover but add to the production expense. They are also hard to view on screen e.g. for marketing
However, a Faux Foil layer is a printable InDesign layer that aims to simulate the appearance of reflective foil as closely as possible either on screen or in print.
GreenLight offers the ability to create a Faux Foil layer for marketing purposes and for more economical printing as required.
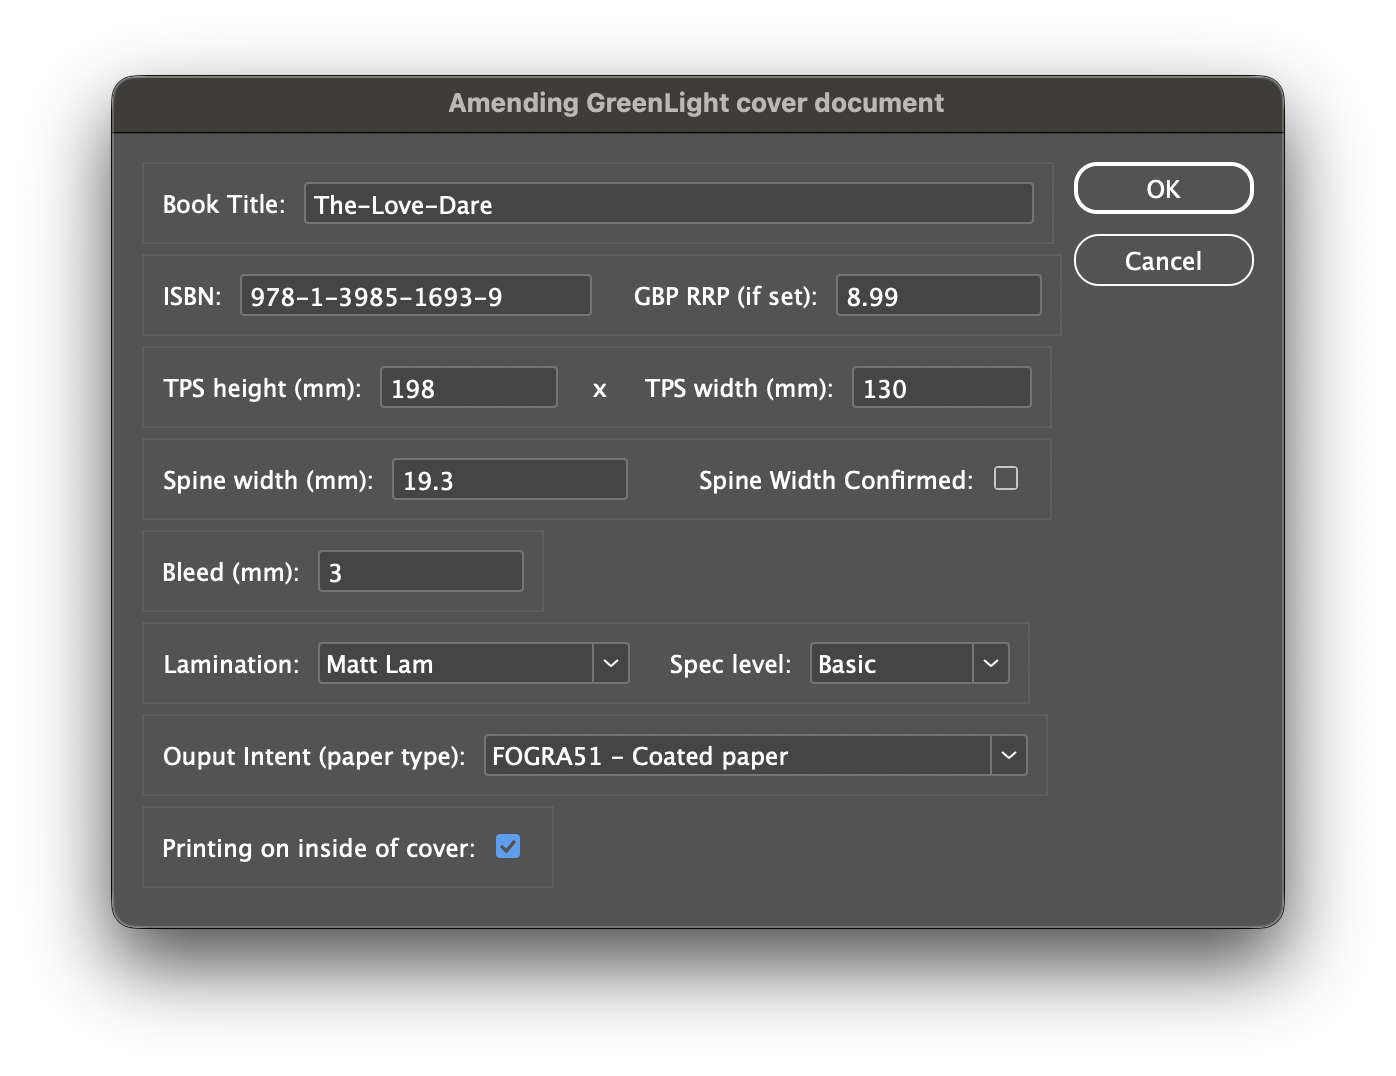
To amend an existing cover:
All the main specifications can be changed here.
NB: The following cannot be amended however and require a new cover to be generated, see steps 2 and 3
To reuse artwork in another GreenLight generated cover file, you can copy and paste from an existing document.
Tip: To ensure layering and positioning are maintained, activate Paste Remembers Layers from the InDesign Layers panel menu and choose InDesign Edit menu > Copy and Paste In Place.

GreenLight will now run a checklist on the document. The relevant checks will be determined by a combination of document name, cover type and the other information in the GreenLight Info panel.
For more information on Running a GreenLight checklist see the Checking a document with GreenLight tutorial.
GreenLight will quickly export cover documents to print ready PDFs. Special finishes are split out into additional labelled separations.
The settings introduced and managed by GreenLight include PDF/X standards, image resolution, colour profiles, transparency and file naming.
To create the PDFs:
PDFs produced from GreenLight from files which have the green light status are stamped with the GreenLight logo and other output production information outside the bleed area of the page. This is visual proof that supplied PDFs have come from an approved file.

A note is also added into the PDF metadata which can be checked with an Adobe Acrobat Pro PDF preflight or other systems.
To create marketing material including high quality JPEGs and interactive 3D simulations from print ready cover artwork see – ShowCase covers with GreenLight (coming soon)