
Layers are an important method of separating different objects on the InDesign page. For co-edition interior pages, they must be used to split the text in different languages from the shared common images in a print run.
The layers that are expected differ for inerior pages and exterior covers and jackets.
This one GreenLight check works with different types of document as required, based on the naming of the file being checked.
Choose InDesign Window menu > Layers to see the current layer structure and naming for the document in the Layers panel:
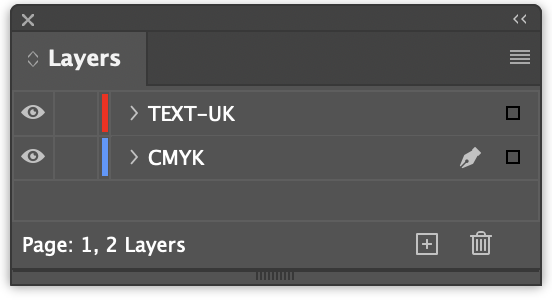
The TEXT layer holds all objects that are able to edited, moved or removed for each language. These are usually text frames but can also contain other items such annotation lines, text on a path, tint panels, and text wrap objects.
The full name of the TEXT layer contains the language being used, e.g.
TEXT-UK - International English
TEXT-US - American English
TEXT-SPA - Spanish
TEXT-GER - German
Typically only one text layer is included in an InDesign document but it is possible to have multiple text layers if required.
This layer contains images that are consistent between each translation.
The ART layer can contain any combination of objects using colour and placed images and may include transparency effects and blending.
It should not contain any translatable text.
The common images layer is named ART and is the bottommost layer in the Layers panel.
Note: Any spot colour inks e.g. Pantones are not split onto separate layers and are included with the main ART layer.
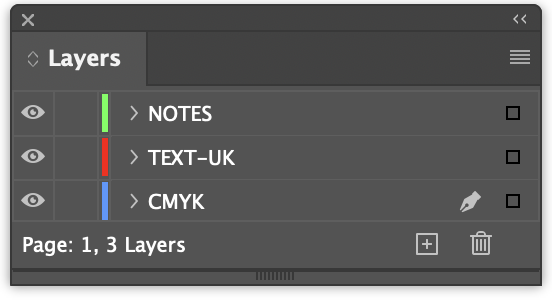
A layer named NOTES can be added if required. Anything added to this layer remains in the InDesign document but is not included when outputting PDF, JPG or translation files.
Therefore it is important to be sure that the NOTES layer does not contain any objects intended for output.
If required, multiple NOTES layers can be used, with each layer name starting with NOTES. Notes layers should appear on top of other layers.
Covers and jackets are not printed in a co-edition print run and are likely to include special print finishes such as foil and spot lamination.
Special Finishes are separated out onto different layers in InDesign with names that match the special finish swatches. e.g. FOIL-SILVER
Expected layer names for cover and jacket files ONLY include "FOIL", "DIELINE", "SPOTUV", "MATT", "GLITTER", “DEBOSS” and "EMBOSS".
If a special finish layer is not listed, GreenLight allows for additional layers to be created named with the word SPECIAL followed by the finish description e.g. SPECIAL-FUR.
‘Spot Colours’ are used to add to the CMYK print process and can be used to add eye catching extra inks and special finishes such as foils and varnishes. They can also be used to indicate physical production techniques such as cutter guides and embossing.
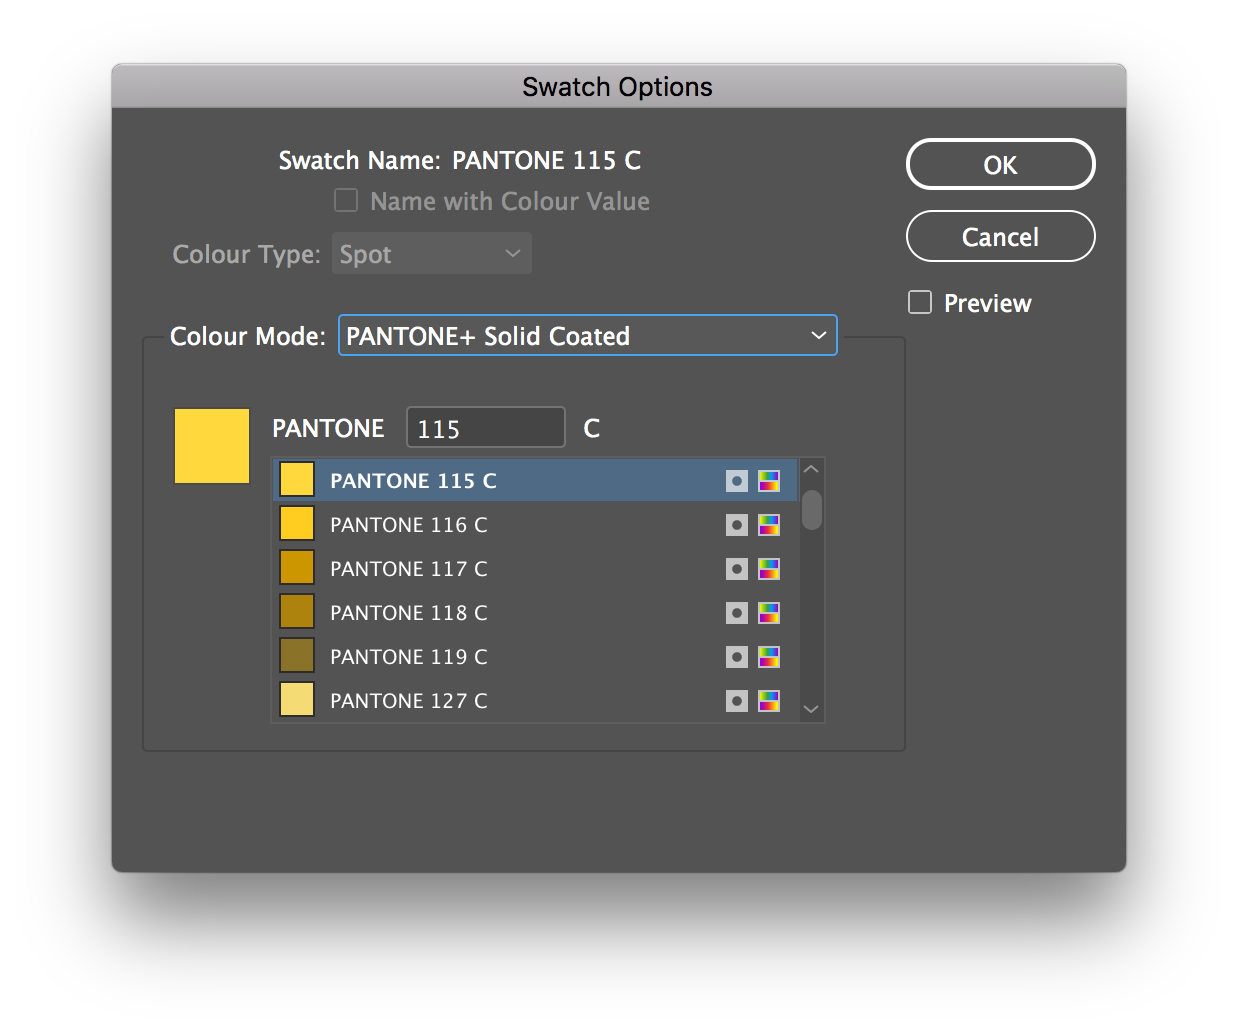
The use of the PANTONE colour library is required for inks that are not made from the CMYK process colours. The Pantone colour reference should be explicit in the spot colour name. The easiest way to do this is to use PANTONE colour mode when adding a spot colour swatch.
Note: Any spot colours – e.g. Pantones – are not split onto separate layers and are included with the main CMYK graphics.
The naming of special finishes should indicate the finish that is to be used and selected from this list:

Spot colours are named with these identifiers. Additional special finishes are identified by adding the word SPECIAL to the start of the layer and spot colour name along with a description e.g. SPECIAL-GLITTER.
Each special finish spot colour is added to a separate, named InDesign layer. All content on the special finish layer uses a spot colour swatch set to the same name as the layer and is set to overprint.
All special finish text and images are set to overprint. This means that images can be changed during a print run without affecting the underlying base images and artwork.
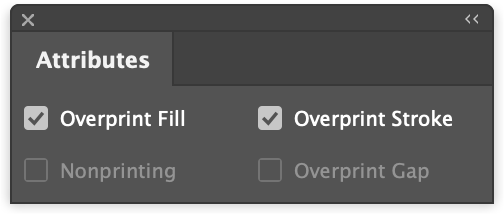
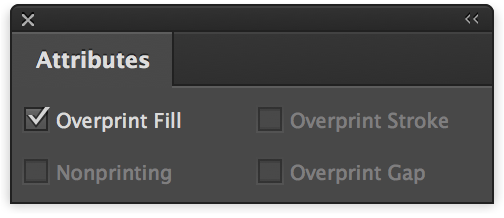
With the appropriate InDesign object or text selected, apply overprinting using the Attributes panel (InDesign Window menu > Output > Attributes) and click Overprint Fill. Where applied, the Stroke of objects should also be set to overprint by clicking Overprint Stoke.
Pixel images can be saved as either Bitmap or Grayscale in Photoshop:
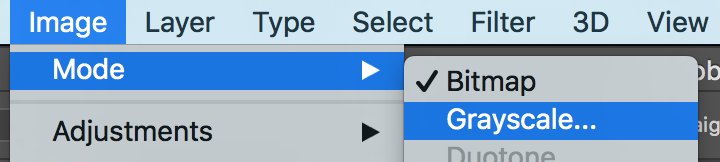
Bitmap images (referred to as ‘Black and White’ in InDesign's Links panel) and Grayscale images can be set to overprint by InDesign using its Attributes panel.
To apply overprint to pixel images it is important to select the content of the image frame rather than the image frame itself. Do this using the InDesign Direct Selection Tool, or with a graphic frame selected choose (InDesign Object menu > Select > Content)
With an appropriate image selected in this way, apply overprinting using the Attributes panel (InDesign Window menu > Output > Attributes) and click Overprint Fill:
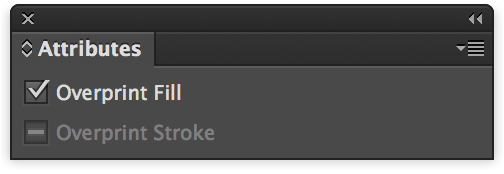
It is also possible to apply overprinting using the Illustrator Attributes panel (InDesign Window menu > Attributes) After selecting the Illustrator artwork with the Direct Selection Tool tick the checkbox to apply Overprint Fill and/or Stroke:
Spot colours used in others apps such as Photoshop and Illustrator are OK to use. Any imported graphics should also use the same naming.
Note: GreenLight is not currently checking vector artwork from Illustrator